Manage Brokers and Accounts

One of the initial steps to use the application effectively for uploading transactions and setting up dashboards and widgets is to configure Brokers and their associated Accounts. This guide provides a step-by-step process for setting up Brokers and Accounts.
Steps to Set Up a Broker
-
Navigate to the Broker Management Section
- Click on the New Broker button to start adding a new broker.
-
Enter Broker Details
-
Fill in the Name field with the name of the broker.
-
Optionally, add a description in the Description field to provide more details about the broker.
-
Example:
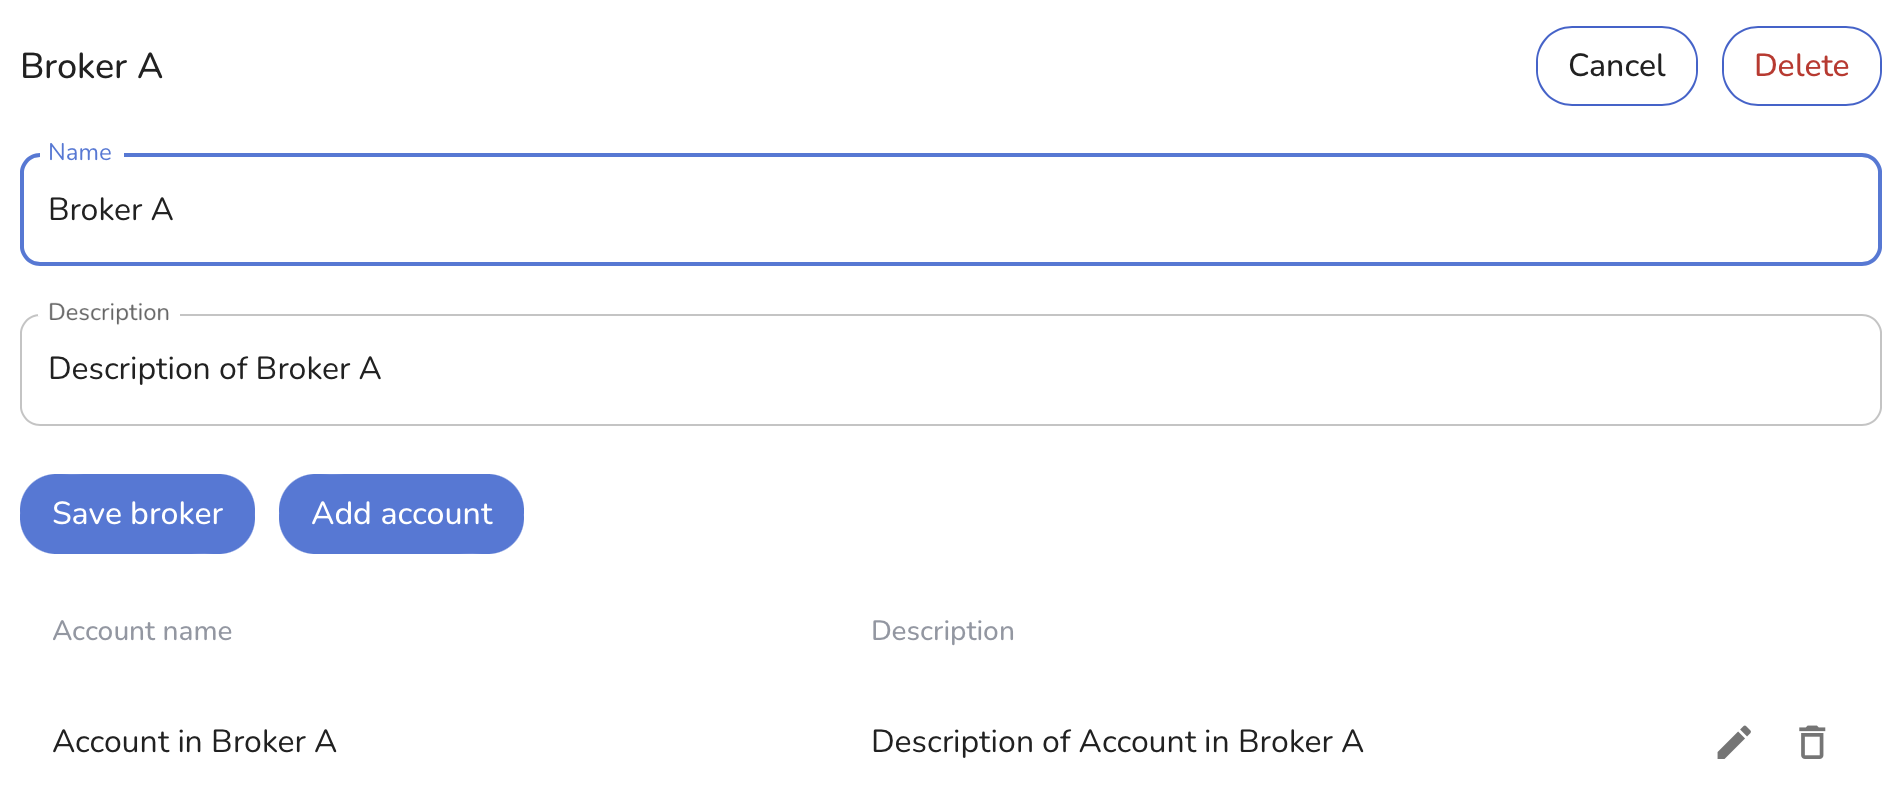
- Name: Broker A
- Description: Description of Broker A
-
-
Save the Broker
- Click Save broker to save the broker details.
-
Add Associated Accounts
- After saving the broker, you can directly add accounts associated with the broker by clicking the Add accounts button.
Steps to Set Up an Account for a Broker
-
Open the New Account Form
- If you chose to add accounts immediately after saving the broker, you will be redirected to the account creation form. Otherwise, navigate to the broker and select the option to add an account.
-
Enter Account Details
-
Fill in the Name field with the name of the account.
-
Optionally, add a description in the Description field to provide more details about the account.
-
Example:
- Name: Account in Broker A
- Description: Description of Account in Broker A
-
-
Save the Account
- Click Save to save the account details, or Add more if you need to add multiple accounts.
- Save: Saves the current account and closes the form.
- Add more: Saves the current account and keeps the form open for additional entries.
-
Review and Edit Accounts
- After adding accounts, you can review them under the respective broker. Use the Edit button to make changes or the Delete button to remove an account if necessary.